This article serves as a comprehensive guide for acquiring and swapping out the battery—or batteries—in a Powercool UPS. based on my personal encounter with updating the dual batteries in my Powercool 1500VA UPS. This guide is broadly applicable across various Powercool models. It’s important to keep in mind, though, that models with a lower capacity typically house a single battery only.
According to the manufacturer, the stock batteries have a lifespan of two to five years, but this depends on a number of factors including air temperature, humidity and discharge frequency. I found that my Powercool 1500VA batteries lasted a little over a year before needing replacing.
The batteries need replacing if:
- The batteries do not charge. This will be shown on the display as never reaching 100% charge.
- The UPS runtime is noticeably reduced at normal load.
- The UPS switches off immediately when power is disconnected.
- The batteries charge very quickly from a discharged state.
- There is any visible damage or stress to the batteries. AGM batteries should not leak.
Battery Specifications
The Powercool 1000VA, 1500VA, 1600VA, 2000VA and 2200VA all use two 12v batteries, and you will likely want to replace both batteries at the same time. The Powercool 400VA, 450VA, 600VA, 650VA, 800VA and 850VA all use a single battery.
The capacity of the batteries, measured in ampere-hour (Ah), changes depending on the model. You can replace with the same or similar capacity, or upgrade to a larger capacity for a potentially higher runtime.
The physical size of the batteries depends on the model. You should replace with the same physical size to ensure that it fits correctly and safely in the enclosure.
All the batteries are sealed lead-acid AGM and should be replaced with the same technology.
| Model | Stock Configuration | Battery Dimensions |
|---|---|---|
| 400VA / 450VA | 1 x 12v 4.5Ah | L = 70mm, W = 90mm, H = 101mm F2/T2 terminals |
| 600VA / 650VA | 1 x 12v 7aH | L = 151mm, W = 65mm, H = 94mm F2/T2 terminals |
| 800VA / 850VA | 1 x 12v 8aH | L = 151mm, W = 65mm, H = 94mm F2/T2 terminals |
| 1000VA / 1200VA | 2 x 12v 7aH | L = 151mm, W = 65mm, H = 94mm F2/T2 terminals |
| 1500VA / 1600VA | 2 x 12v 8aH | L = 151mm, W = 65mm, H = 94mm F2/T2 terminals |
| 2000VA / 2200VA | 2 x 12v 9aH | L = 151mm, W = 65mm, H = 94mm F2/T2 terminals |
Purchasing Batteries
The original batteries in my UPS were KIJO JS series, although it’s possibly other brands may have been used in manufacturing. You do not need to replace with the same brand, and you may find it difficult to source an identical replacement.
When replacing the batteries in my 1500VA, I used NX NP9-12 as a replacement from AllBatteries (not sponsored) which is very reasonably priced.
Replacement Method
These instructions are for the Powercool 1500VA but should be equally applicable to the other Powercool models, with some minor adjustments.
- Power down and unplug the UPS, and disconnect all the attached appliances. Allow the unit to cool down before attempting to open, as the internal components can get quite hot.
- Unscrew the screws holding the outer case in place. There are three on each of the sides, and four at the back.
- Disconnect the cables from the battery terminals.
- Remove the grounding cables from the bottom of the case
- Remove the back cover by unscrewing the two screws from the bottom of the case, and the two screws from the back of the case. The middle screw can be ignored, as this is just holding the USB and Tel/Modem/Fax connectors.
- Disconnect the cables running from the main board to the front of the case. There is an orange two pin cable, and a long six pin cable. The other cables can be left in place
- Detach the main board by unscrewing the four screws holding it onto the rails.
- Lift the rails at an angle to detach them from the front of the case.
- Being careful not to damage any cables or the main board, turn the unit on its side. Unscrew the four screws securing the transformer to its base. Beware, the transformer is very heavy and may cause damage if it falls.
- With the unit still on its side and the transformer out of the way, remove the four screws securing the battery bracket to the base. The bracket, along with the batteries can then be removed.
- Repeat these steps in reverse with the new batteries.
Reassembly tips
The battery bracket should be aligned such that the two inner terminals of the battery are within the cutout of the bracket. The batteries should be placed with all the terminals on the same side.
The transformer and batteries are both very heavy and have the potential to damage themselves, yourself, or other components if allowed to fall. Be very careful to support them when reassembling.
As tempting as it may be to test the new batteries, avoid doing so before they have been allowed to charge for 24 hours in order to preserve the lifespan of the batteries.
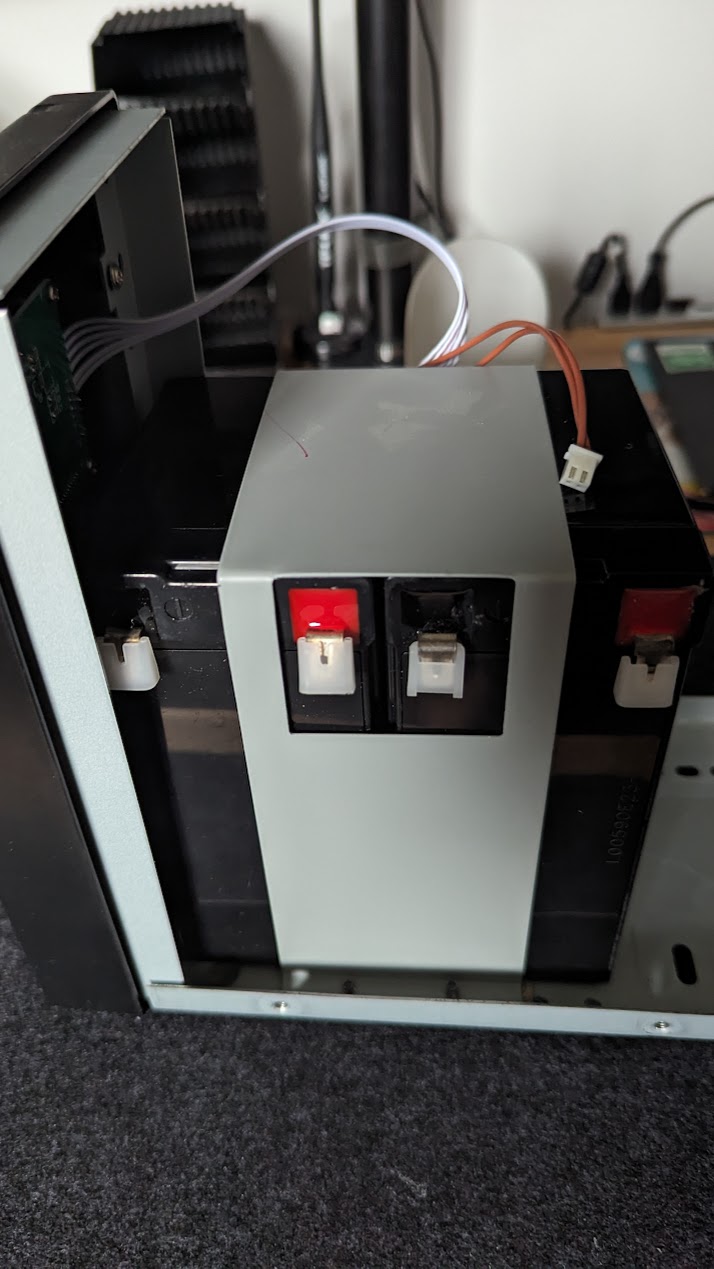
Replacement batteries inserted. The tabs protect the terminals from accidentally short-circuiting 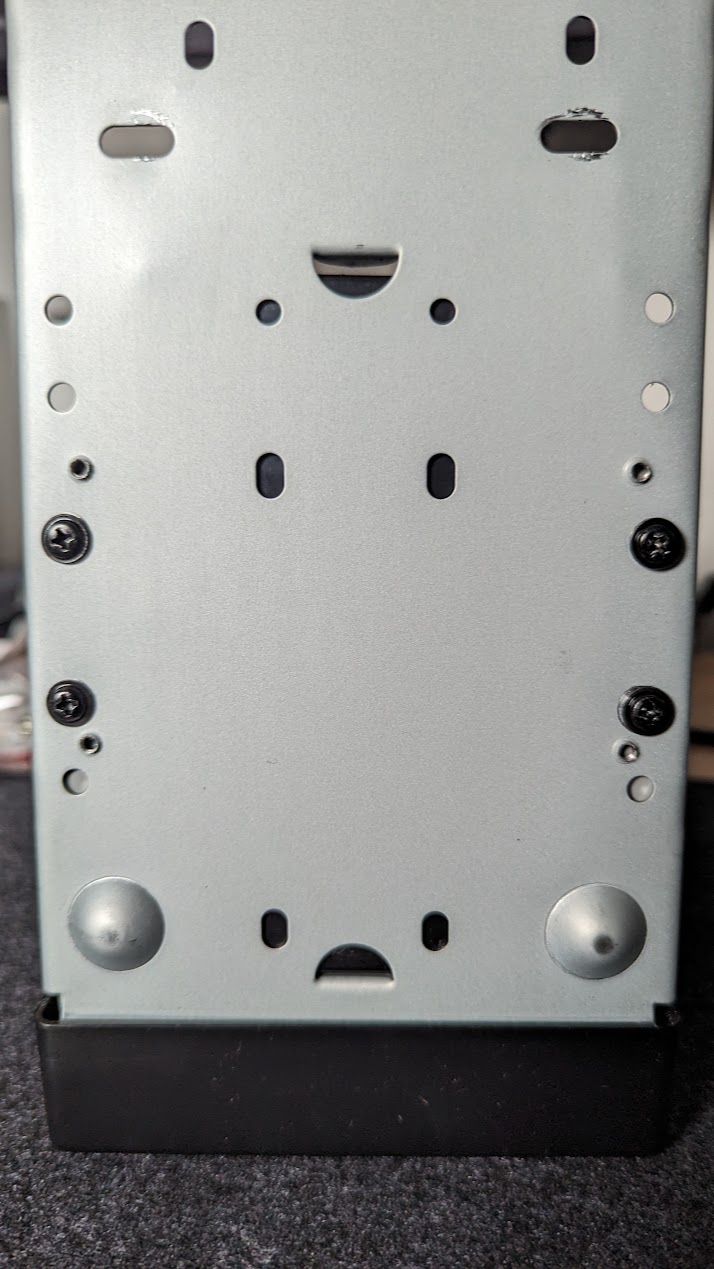
The underside of the UPS. The four screws attach the bracket to the bottom of the case, which in turn secures the batteries. 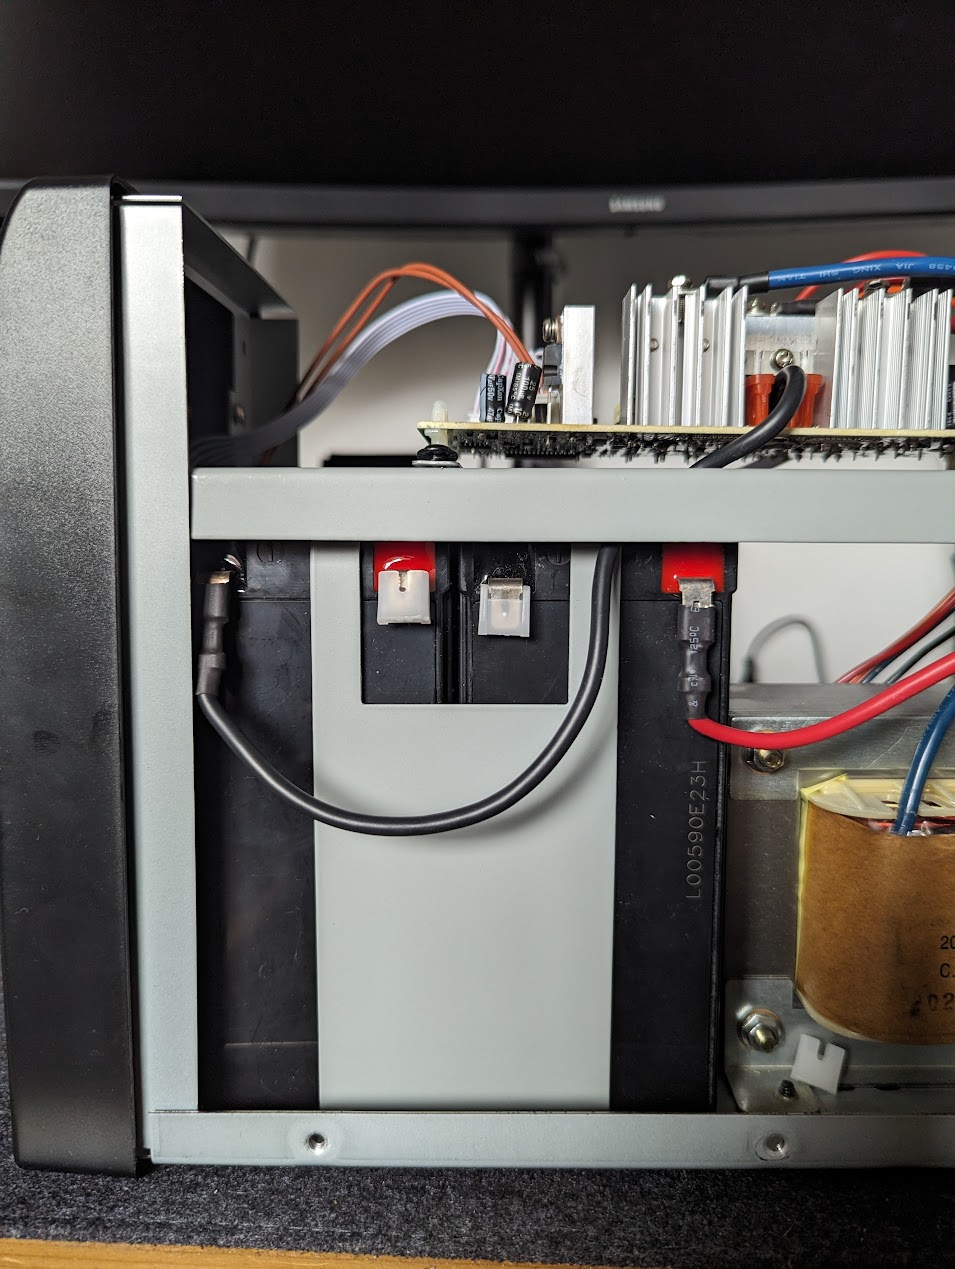
The new batteries in place with the rails, main board and transformer inserted. 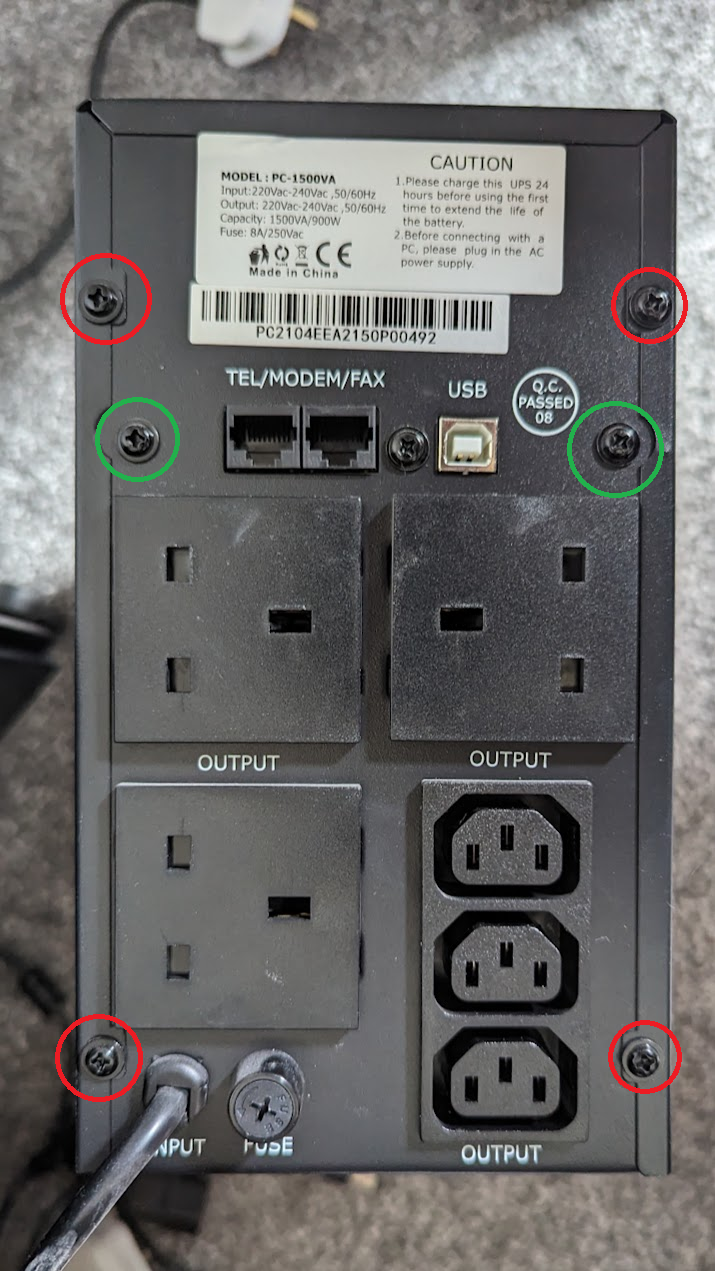
The screws at the rear of the UPS. The red screws attach the case; the green screws attach the rails 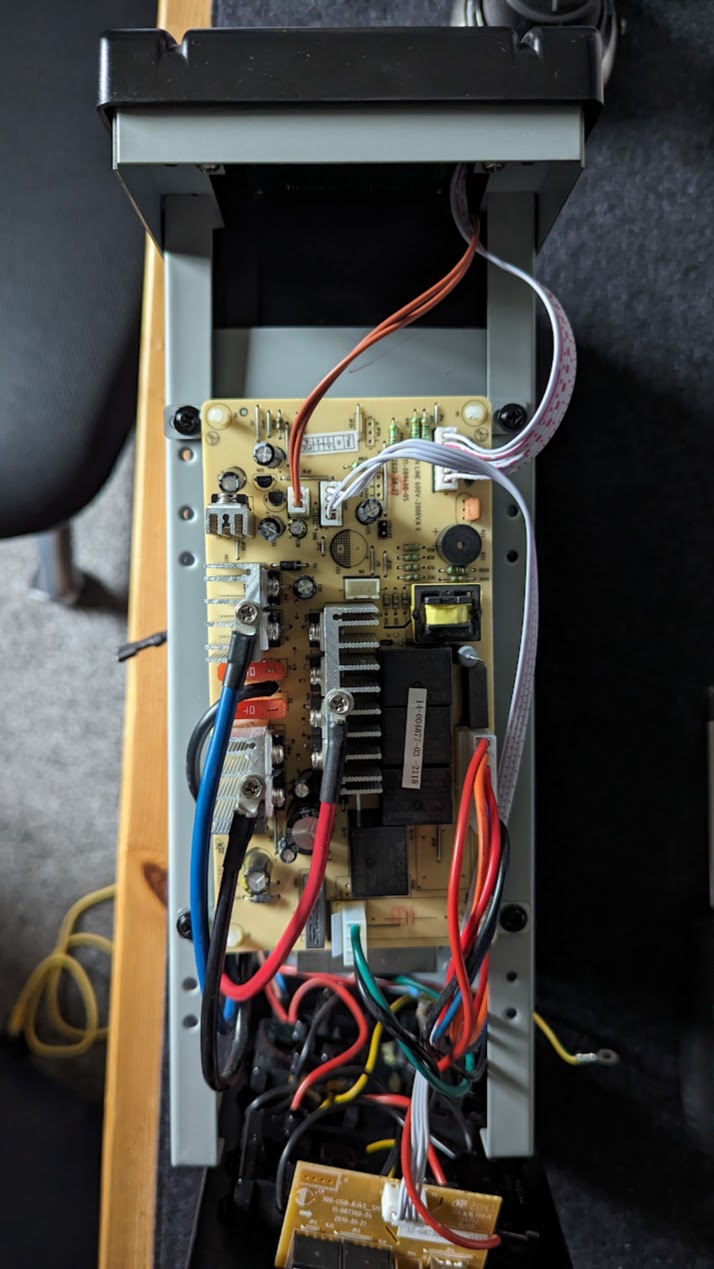
The main board attached to the rails, with the front of the UPS at the top and the back panel removed. The two cables joining the board to the front of the case should be removed 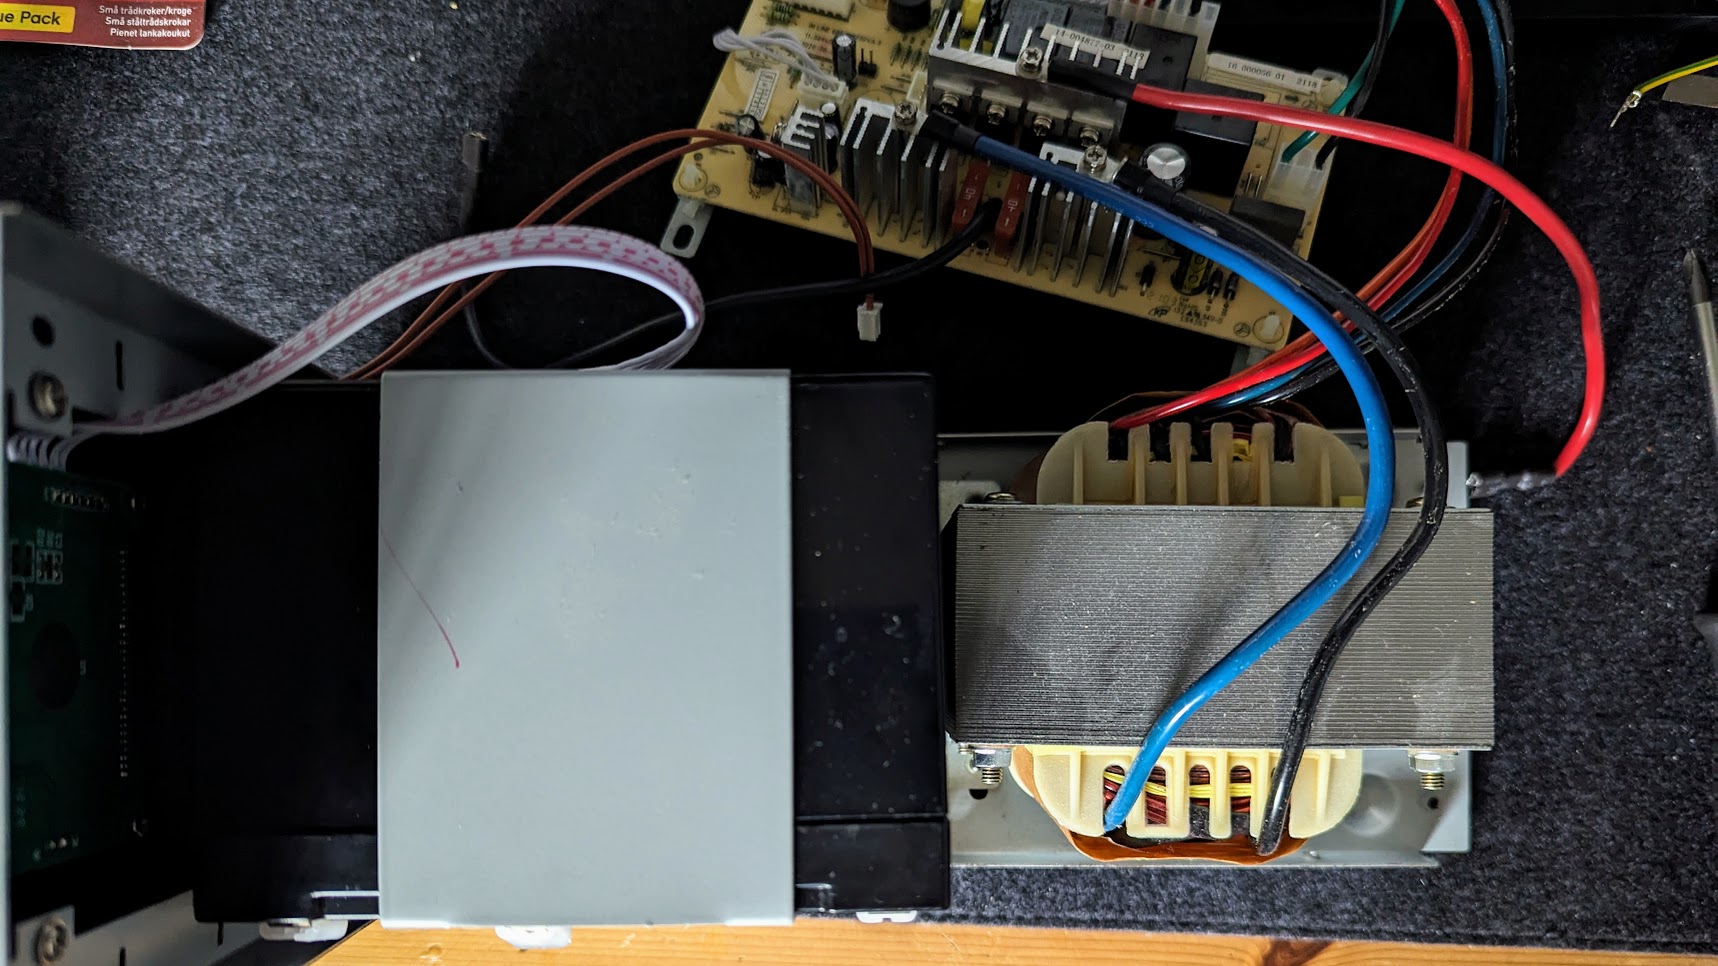
The main board and rails removed 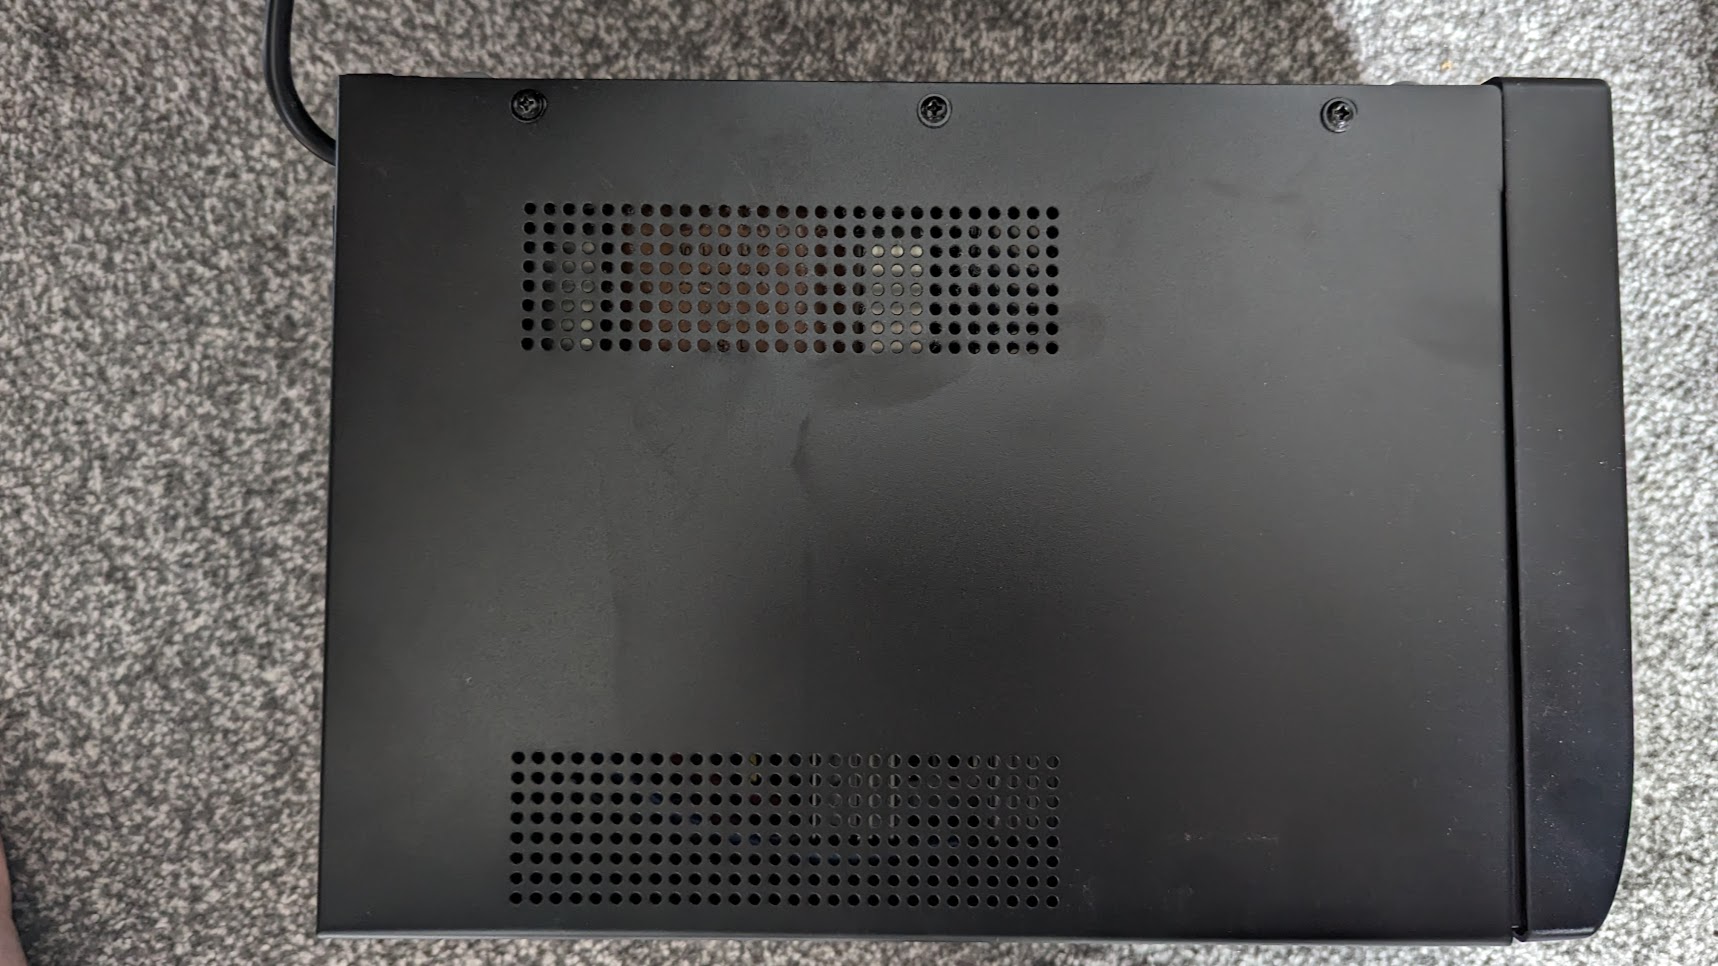
The side of the UPS. The three screws on either side attach the case 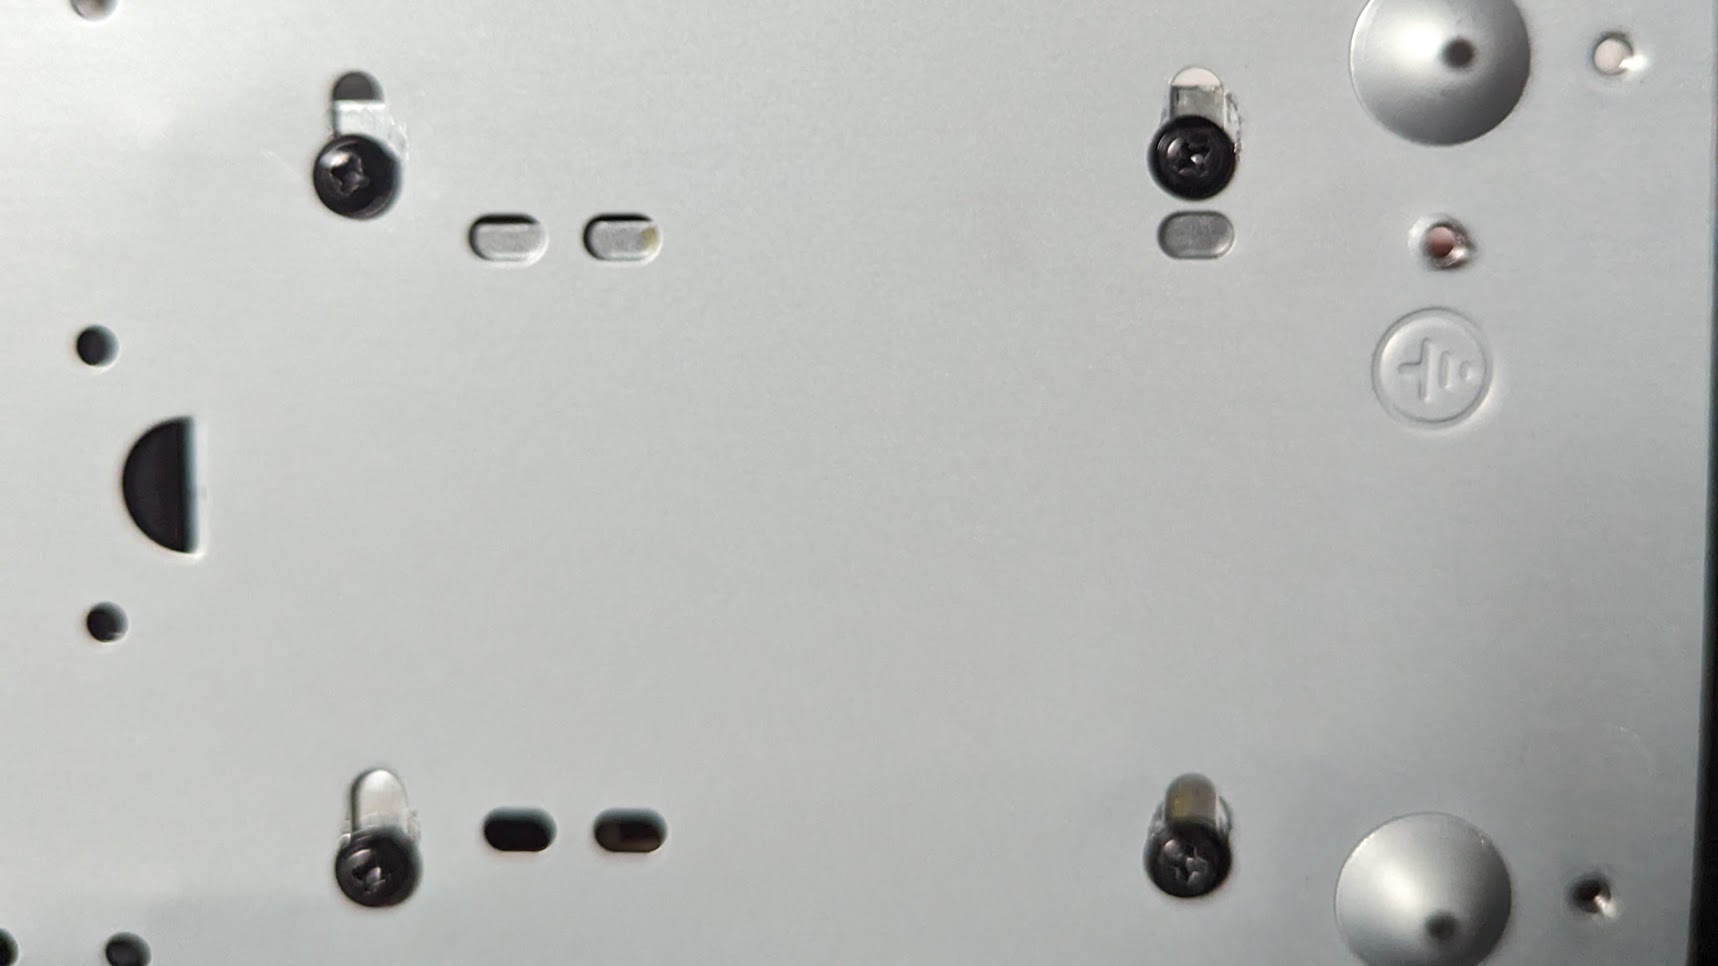
The four screws on the underside mounting the transformer. The ground is connected inside the case where the symbol is located. 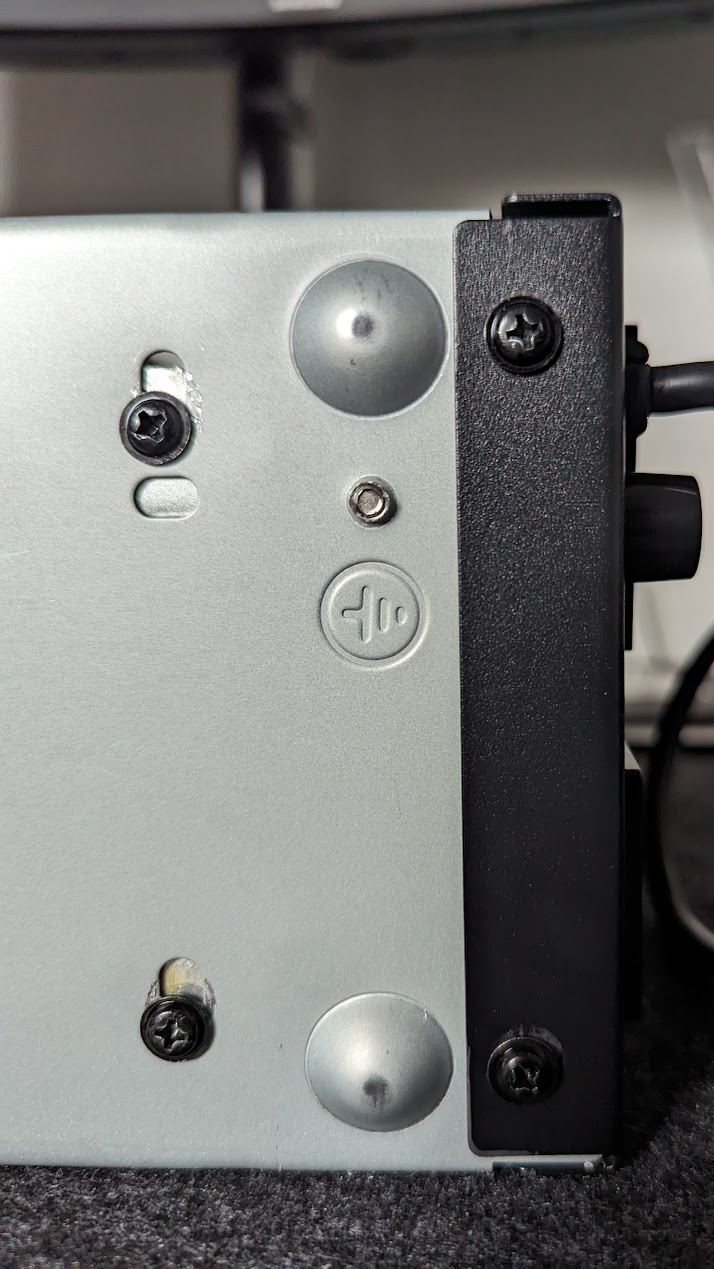
The underside of the UPS showing the two screws attaching the rear of the case.
Leave a Reply